In this tutorial, you’ll learn how to create an iPhone flat lay mockup in Photoshop in a few steps. I’ll explain everything in so much detail that everyone can learn how to create 3D mockups in Photoshop, even those who have just opened it for the first time.
Want to get a flat lay mockup right away? Check out the Stationery Concept Flat Lat Lay Phone Mockup over on Envato Elements.
What You’ll Learn in This Flat Lay Mockup Tutorial
- How to create a 3D mockup in Photoshop
- How to make a mockup scene
- How to use a flat lay photo for a mockup
What You’ll Need
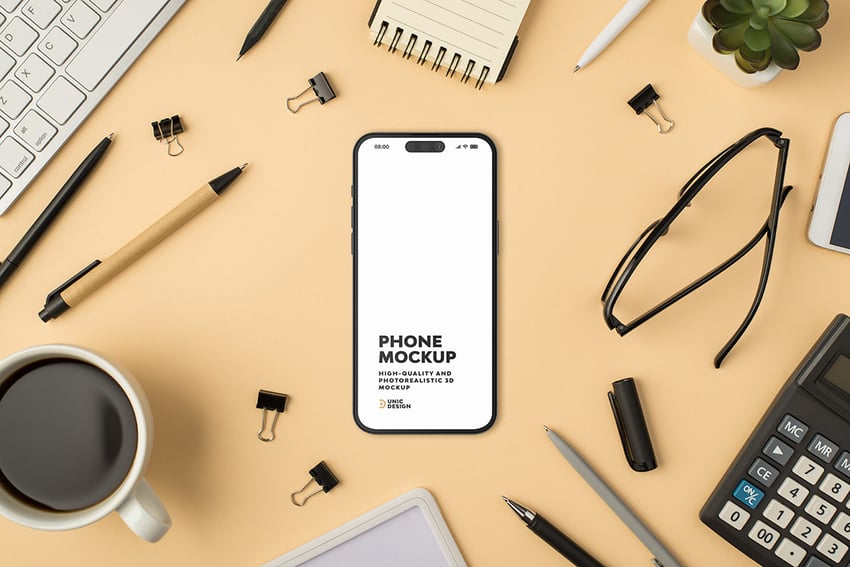
To recreate the flat lay photography mockup above, you will need the following resources:
1. How to Start Creating a Phone Flat Lay Mockup
Step 1
In this section, we are going to start creating the phone flat lay PSD mockup. First, we need a phone 3D model—I’ll use the White Phone 3D model from Envato Elements.


Step 2
Now click on View 360 Render to adjust the perspective to the front, set Download as to PSD, and choose Download this Angle.


2. How to Create an iPhone Flat Lay Mockup
Step 1
In this section, we’re going to create an iPhone flat lay mockup. Go to File > Open, choose the flat lay photograph from the link or any other blank mockup flat lay photo, and click Open.


Step 2
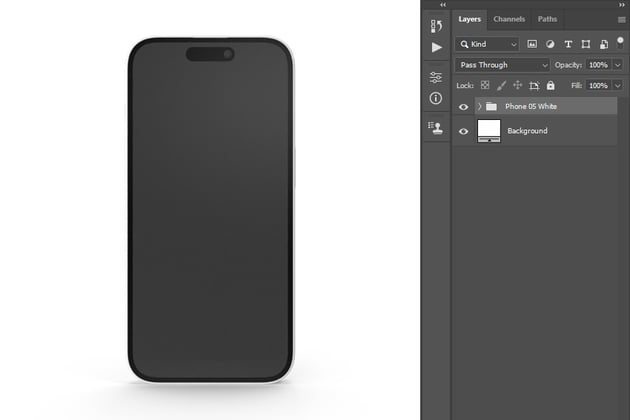
Now go to File > Open, choose the phone PSD file, that we previously downloaded, and click Open.


Step 3
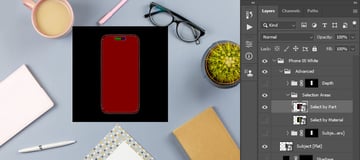
Choose the Move Tool (V), click anywhere inside the canvas, and drag the phone to the flat lay photo document. Then, transform and position the phone as you like.


Step 4
Now, hide the Shadows layer, and select and show the Select by Part layer.


Step 5
Choose the Magic Wand Tool (W) and click anywhere inside the screen area to make a selection of the screen. Then, go to Select > Modify > Smooth, and set the Sample Radius to 5 px.


Step 6
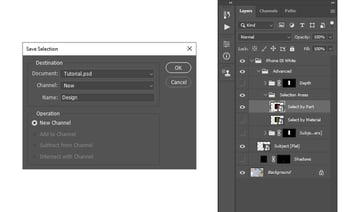
Go to Select > Save Selection to save this selection, and name it Design. Then, press Control-D on your keyboard to deselect.


Step 7
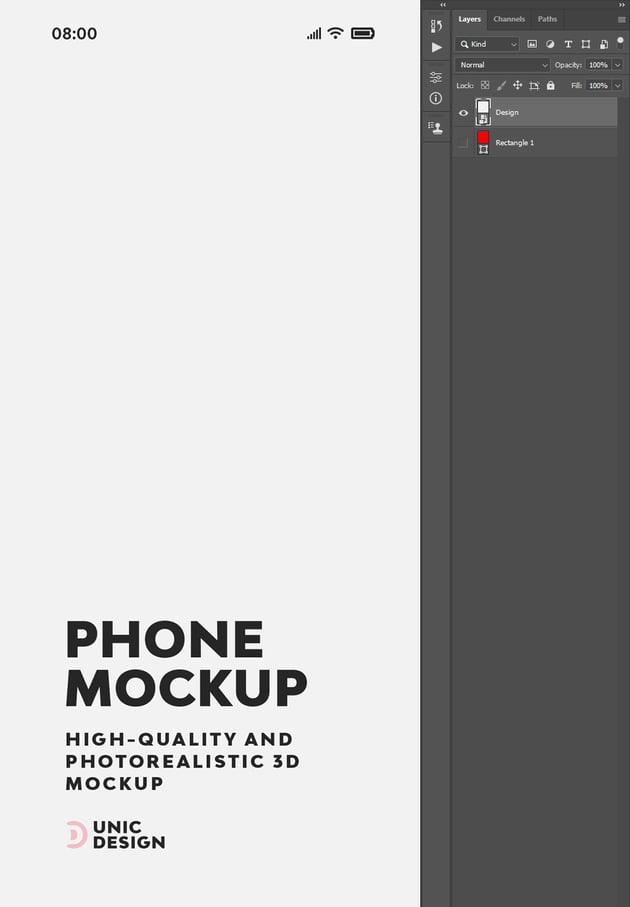
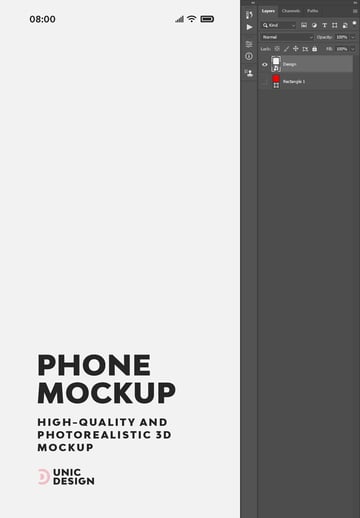
Set the foreground color to #ff0000, choose the Rectangle Tool (U), click inside the canvas, and drag to create a new rectangle shape layer in a size that covers the screen of the phone. Then, drag this layer to the top of the layers in the Phone 05 White folder. Lastly, hide the Select by Part layer.


Step 8
Press Control-T on your keyboard to transform this layer, and set the Width and Height to 125%. Next, Right-click on this layer and choose Convert to Smart Object. Press Control-T again, and transform the shape to match the screen size plus a few extra pixels on each side.
After that, select the Channels tab, Control-click on the Design channel thumbnail to load its selection, return to the Layers panel, and go to Layer > Layer Mask > Reveal Selection to add a layer mask that reveals the selected area and hides the rest.


Step 9
Double-click on this layer thumbnail and, in the newly opened file, hide the Rectangle 1 layer. Then, go to File > Place Embedded, select your design, and choose Place. Transform and position the design to fit the canvas.

Step 10
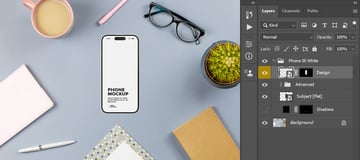
Go to File > Save to save the changes, and close this file. Return to the mockup file, select the Rectangle 1 layer, and name it Design. Next, Right-click on this layer and choose Yellow to mark it with a yellow color so it’s easier to find as it’s the main layer for the mockup.


3. How to Create Shadow and Lighting
Step 1
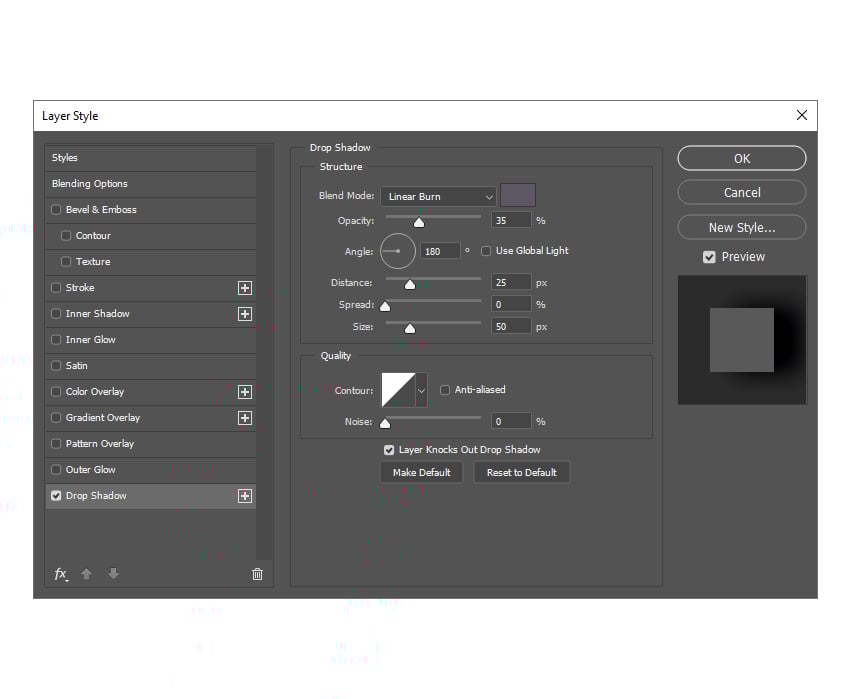
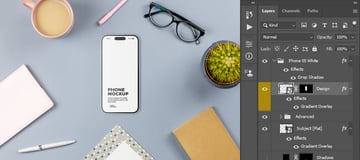
In this section, we’re going to create the shadow and adjust the lighting of the phone. Select the Phone 05 White folder, Right-click on it, and choose Blending Options. Then, select and check the Drop Shadow effect, and use the settings below.


Step 2
Select the Subject [Flat] layer, Right-click on it, and choose Blending Options. Then, select and check the Gradient Overlay effect, and use the settings below.

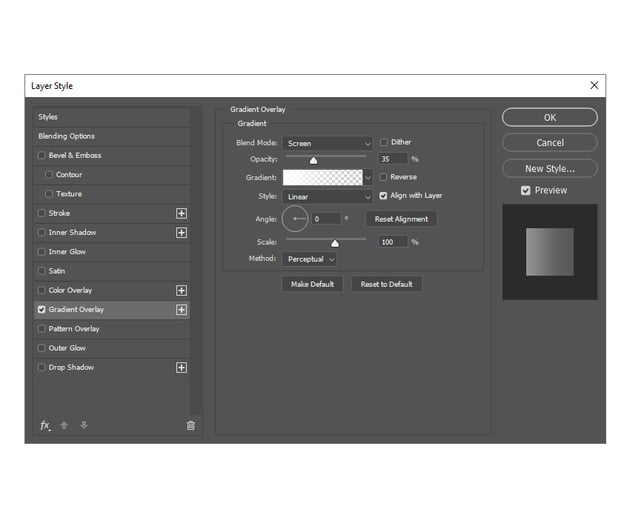

Step 3
Add the Gradient Overlay effect with the same settings to the Design layer as well.


4. How to Make the Final Adjustments
Step 1
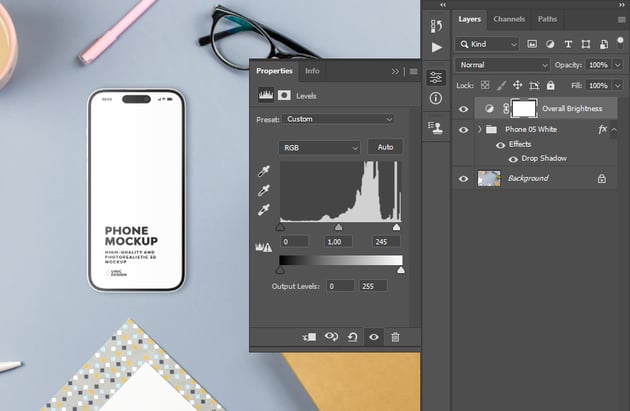
In this section, we are going to make the final adjustments to the 3D mockup. Go to Layer > New Adjustment Layer > Levels to create a new levels adjustment layer, and name it Overall Brightness. Then, drag this layer to the top of the layers in the Layers panel. After that, double-click on this layer thumbnail and, in the Properties panel, set the Highlight Input Level to 245.


Step 2
Press D on your keyboard to reset the swatches and X to switch them. Go to Layer > New Adjustment Layer > Gradient Map to create a new gradient map adjustment layer, and name it Overall Contrast. Then, change the Blending Mode of this layer to Soft Light and set the Opacity to 50%.


Step 3
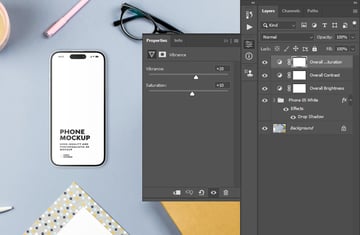
Go to Layer > New Adjustment Layer > Vibrance to create a new vibrance adjustment layer and name it Overall Vibrance/Saturation. Then, Double-click on this layer thumbnail and, in the Properties panel, set the Vibrance to +20 and Saturation to +10.


You Made It!
Congratulations, you’ve succeeded! You’ve now learned how to make your own flat lay mockup, and how to create 3D mockups in Photoshop in general. Here is our final mockup scene result:


5 Flat Lay Photoshop Mockups From Envato Elements
Want to see some cool flat lay mockups besides this one? Check out this list of flat lay Photoshop mockups from Envato Elements.
Stationery Concept Flat Lay Phone Mockup (PSD)


With this iPhone 15 flay lay mockup, you can present anything from an app, game, or UI/UX design to Instagram profiles and other templates. The iPhone is fully layered, so you can change the colors or adjust the shadows and highlights of any part.
Flat Lay Floral Wedding Invitation Mockup (PSD)


Check out this flat lay wedding invitation mockup. It is easy to edit, and since the layers are organized, it’s easy to use as well.
Winter Woman’s T-Shirt Mockup Flat Lay (PSD)


Here we have a winter concept woman’s T-shirt mockup. It has everything you need to show your fashion design product. Just double-click on the colored layer, and you can place your design, text, or pattern.
15 Nature Scenes & Mockups (PSD)


There are 15 PSD files in this flat lay mockup pack. They are high resolution, you can replace the design using smart objects, and the items are isolated and movable!
Office Concept Flat Lay Phone Mockup (PSD)


This office concept flat lay phone mockup has everything you need to present anything on the iPhone 15 screen in the right way. The phone is fully layered and customizable, and you can place your design with a single click.
Did you like this tutorial on how to create lay flat mockups? Then you may also like:


