I knew at the moment I received the Legend Hobby A-1 Skyraider 86”, that it needed the full treatment. It’s such an impressive looking and flying model and there’s just something about the A-1 Skyraider that I love. So, in my research of the A-1 Skyraider, I came across a specific scheme I liked and so it was off to the races!
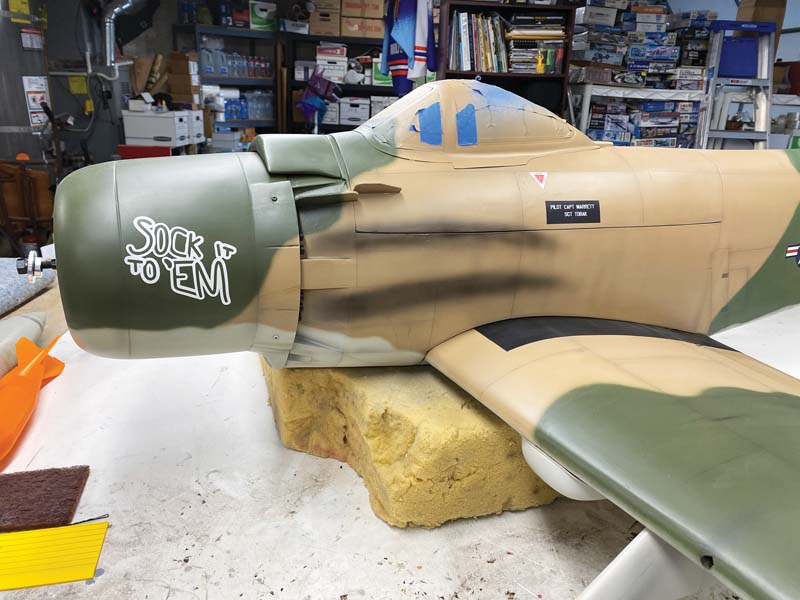
For the repaint, I chose the scheme of George J. Marrett’s personal aircraft in Vietnam from 1968 to 1969, which carried the moniker of “Sock it to ’Em,” a tag line from the 1960’s comedy show “Laugh-In.” The aircraft operated with the 602nd Special Operations Squadron (SOS) from Nakhon Phanom Royal Thai Air Force Base and George completed 188 missions with over 600 combat hours in the aircraft.
Painting Process
The Legend Hobby airframe comes with a flat clearcoat applied over its iron-on covering so the model takes paint extremely well. In fact, the paint was applied directly to the surface without any primer at all. I like to use spray cans whenever possible.
The painting process consisted of applying colors from lightest to the darkest, so with this in mind, the underside color (AS-16) is sprayed first. To mask the feathered underside separation line, I use 3M Soft Edge masking tape. Being designed to create soft feathered edges, this tape makes painting feathered camouflage with spray cans an easier prospect, though the lines are still touched up with an airbrush to finish.
Shades of Grey & Tan
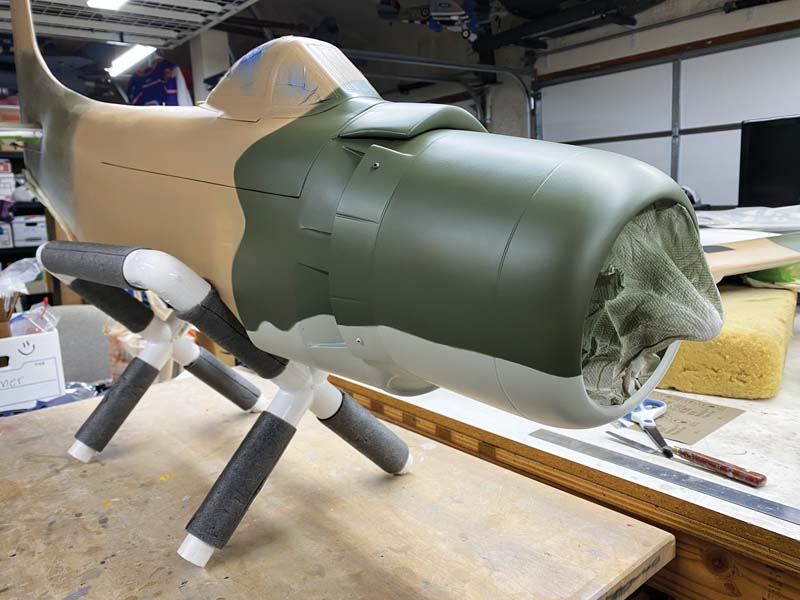
With the grey down and masked, the tan color (AS-15) was applied next followed by the light green (AS-14) and finally finishing up with the dark green (AS-6). In the masking process, paper towels and Frog Tape were used to protect from undesirable overspray. The nice thing is that with this being the A-1 Skyraider SEA Camo ARF, the paint separation lines are already defined and so were used as a guide in placing the soft edge tape.
Separation Lines
While the soft edge tape does provide a decent feathered edge with the spray cans, it can be difficult to get a consistent feather. So, to get a better look from each of the separation lines, each color was sprayed into a paper cup as needed, thinned with some lacquer thinner and then the mixture was airbrushed over all of the separation lines for the appropriate colors. This provided a consistent and scale feathering across the entire A-1 Skyraider model and also allowed for fixing problem areas that popped up as well.
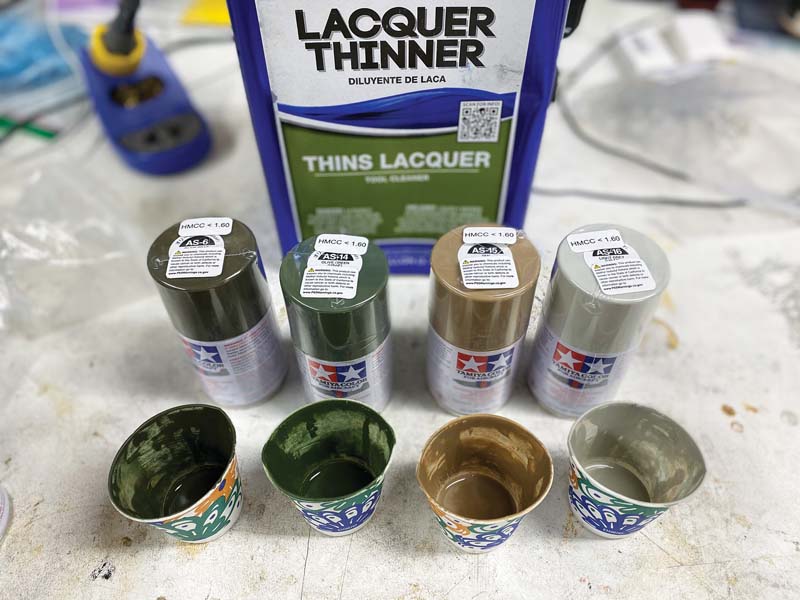
Tamiya AS spray cans were used to paint the entire model. They’re great spray paints and the colors are perfect!
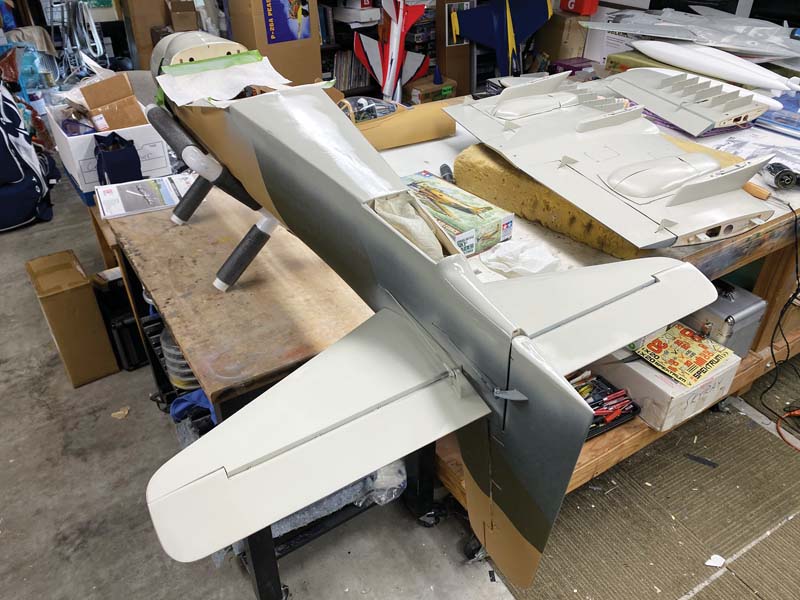
The first color painted was the camouflage gray underside (AS-16) followed by the tan (AS-15), light green (AS-14), and dark green (AS-6) on the upper surfaces.

3M soft edge masking tape was used to mask the paint separation lines between all of the colors. This provides a feathered edge between the colors.
With the tape removed, a feathered (but sometimes inconsistent) feathered edge is revealed.
Markings & Panel Lines
Once the Skyraider was painted, custom-made printed and cut vinyl markings were applied. They were made by a fellow A-1 Skyraider driver similar to what you would get from Callie-Graphics. Once they were applied, I applied the panel lines which I simply drew onto the painted surfaces with a 0.5mm lead mechanical pencil. It’s amazing how simple pencil panel lines can completely change the looks of a scale model. A medium hardness lead is recommended as it is less prone to smudging while handling the airframe. A selection of various sizes of straight edges and Frog Tape were used as needed to lay the lines down across the airframe. Additionally, I cut smaller strips of Frog Tape as needed to use as a guide for drawing panel lines around some of the more complex curves as well. To protect the panel lines during weathering, I applied a light clear coat using Rustoleum 2x Matte Clear. Without this, the panel lines would fade away and smudge during the weathering application.
Weathering
The last item of business, which really brings the airplane to life, (my favorite part!) is weathering. The whole goal here is to simulate (not replicate!) the years of service these aircraft suffered through and A-1 Skyraiders in Vietnam were especially haggard and dirty. Note that it is recommended applying the weathering process indoors under artificial light as the sun tends to wash out the colors.
Washes & Oil Stains
The process starts with the application of oil stains and streaks across the airframe. I used a combination of FolkArt Raw Umber and Black acrylic pigments. Black can be a bit overpowering on its own when applied heavily, so the Raw Umber, being a nice dark brown, is the primary color used with the black used for accents. To make the stains/streaks, some pigment was applied to the surface in a desired location along a panel line using a paint brush, then I used a paper towel to lightly streak/rub the pigment back along the direction of the airflow on the wings and vertically for fuselage surfaces. The Skyraider was an extremely dirty aircraft and so the stains on the underside need to be applied quite heavily. Application of the pigments across the remainder of the airplane were quite a bit lighter and more sporadic as a whole. Having some pictures of your subject aircraft for reference really helps, but ultimately it’s about artistic license and getting the desired look from the finish. Note that since this is all being done with acrylic pigments, the beauty is that if you’re unhappy with the application, simply clean the area with Tamiya Acrylic thinner and try again.
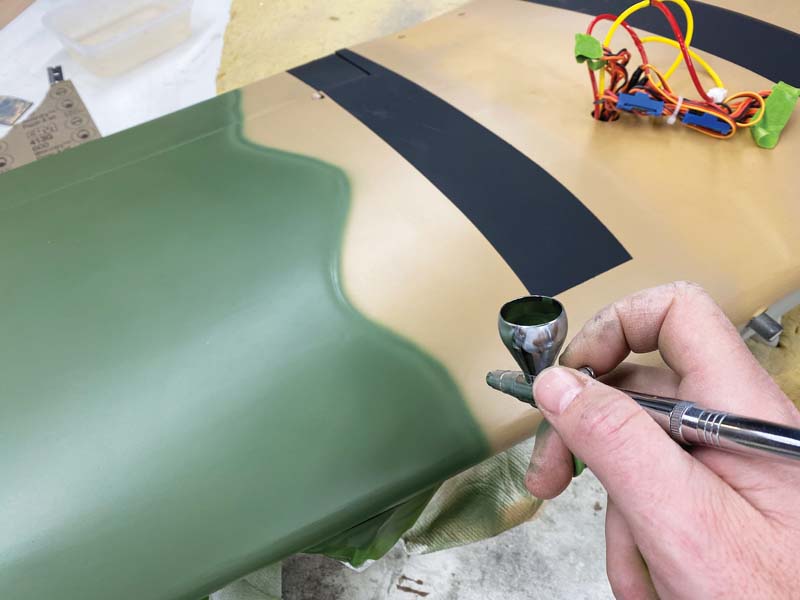
To get a consistent feathering along all of the color separations, the spray can colors were sprayed into a paper cup and lightly thinned with lacquer thinner and airbrushed over all of their appropriate color separation lines.
Once painted, the markings were applied and panel lines were drawn with a .5mm lead mechanical pencil over the entire model. A selection of tapes and straight edges were used as guides for the pencil. Once applied, a light clear coat with 2x Rustoleum matte clear was sprayed over the model to protect the pencil panel lines.
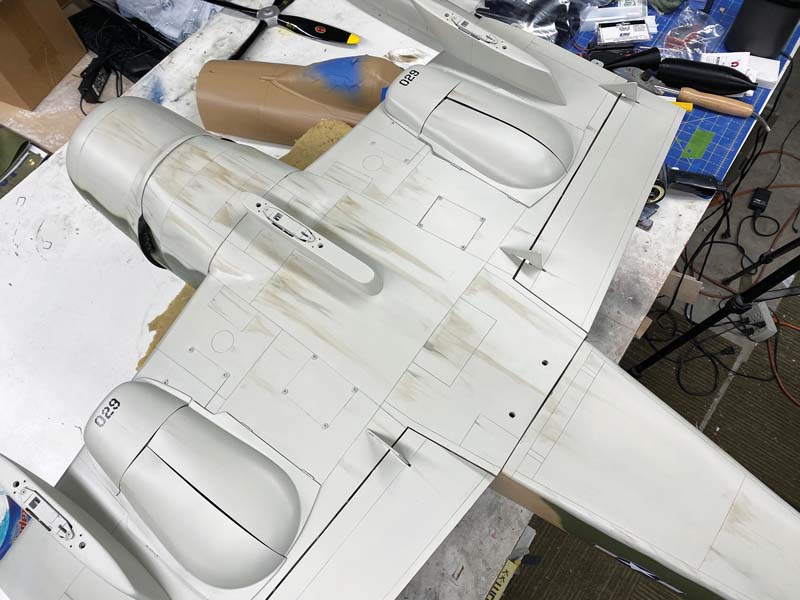
The weathering process started on the underside with applying oil stains and streaks using Acrylic Raw Umber and Black pigments. Note that if the application isn’t to your liking, it cleans right up with Tamiya acrylic thinner!
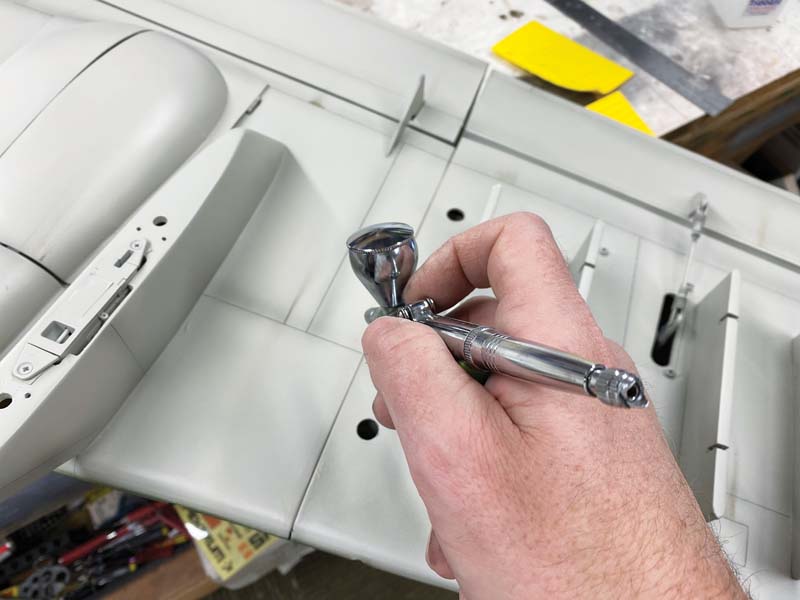
To create some light fading, all of the panel lines were airbrushed over with very thin black enamel paint. Once applied over the model, the model was burnished down with a light Scotch-Brite pad to blend the weathering together.
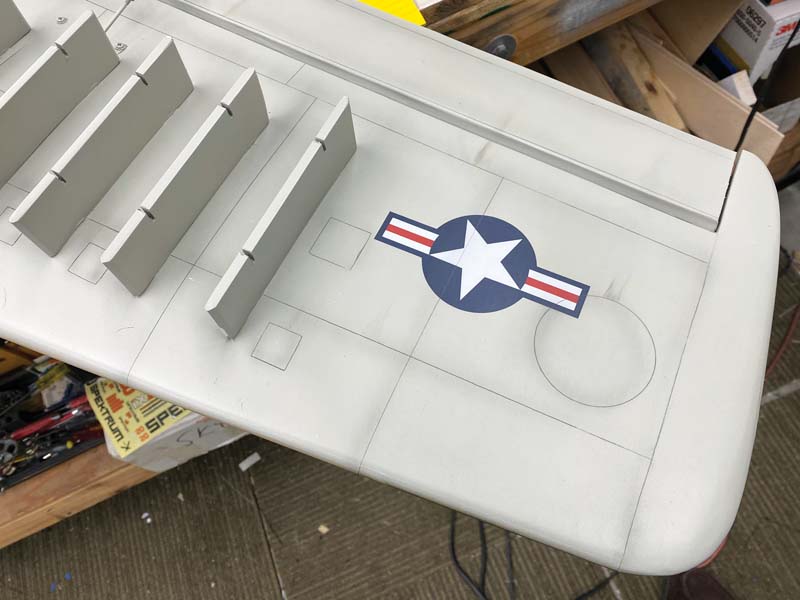
Here’s the panel lines and weathering and the US insignia after the ScotchBrite treatment.
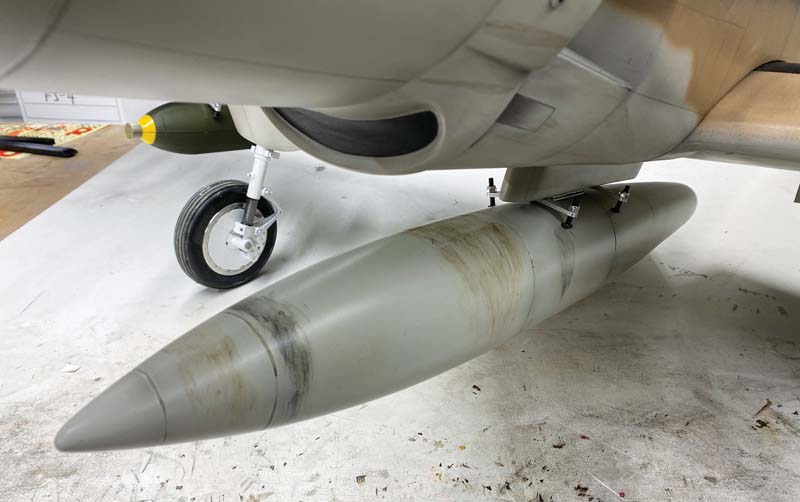
The underside of the Skyraider requires heavy weathering. I applied streaks in the direction of the airflow on the underside and vertically along the centerline tank.
The exhaust and gun staining were applied with an airbrush as desired with the same black paint. Using reference photos helps get the staining appropriate for your model.
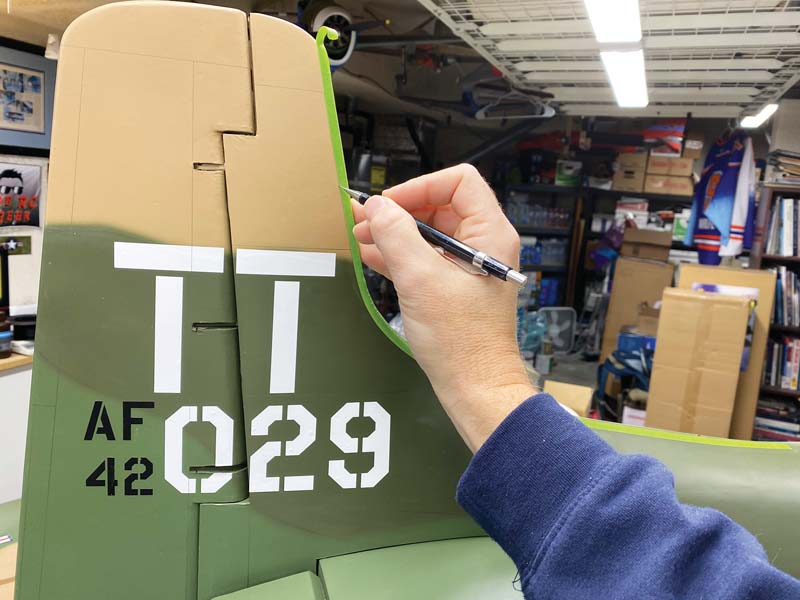
To apply curved panel lines thin strips of tape were used as guide for the pencil.
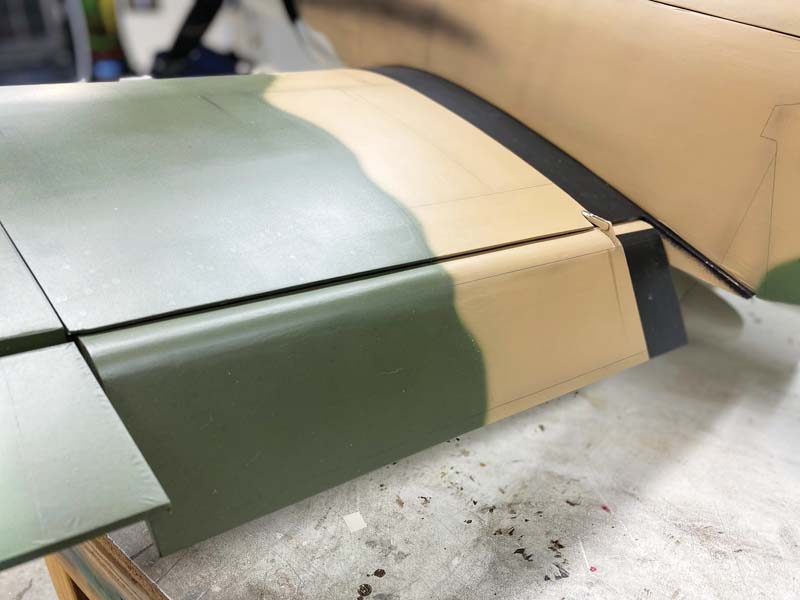
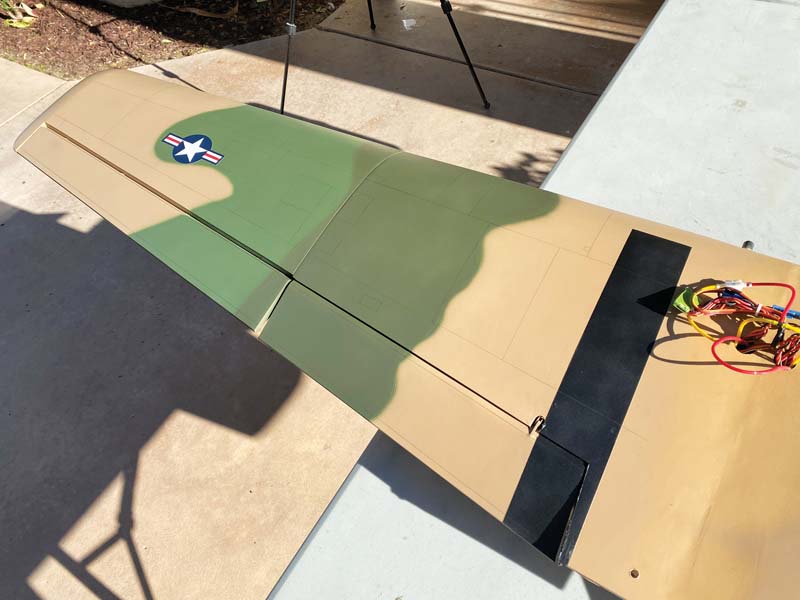
This shot of the lowered flap show the feathered separation line treatment between the different colors.
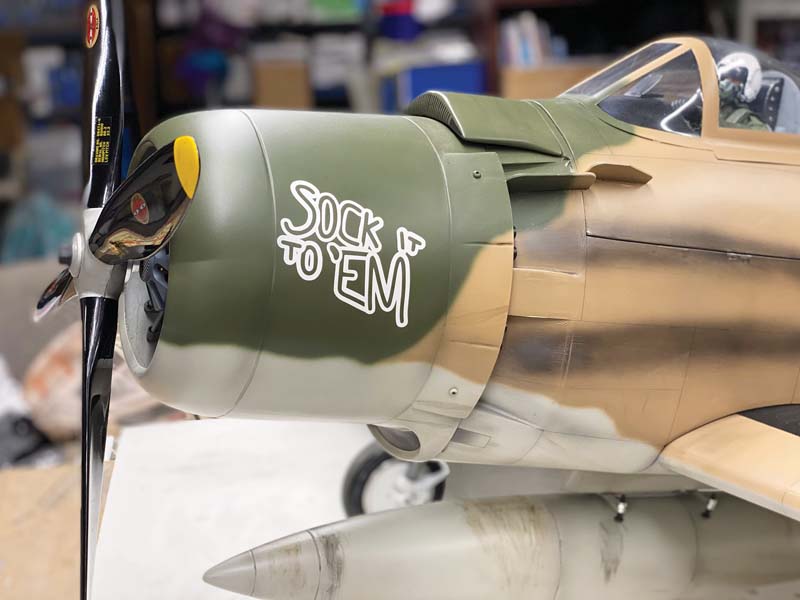
“Sock It To ’Em” with its weathered scale paint scheme is ready to go!
Panel Line Shading
Once all of the oil stains and streaks were applied, I applied a quick airbrush shading using very-thinned down Flat Black Enamel over all of the panel lines. This helps produce variation within each of the panels giving the illusion of accumulated grime while also providing a slightly faded center look along each of the panels. Once all of the shading was applied over all of the panel lines, the entire airplane was burnished down with a fine Scotch-Brite pad to even and blend the layers (very important!). This also helps reduce any of the too heavy applications that can occur as well.
Exhaust Stains
Additionally, black was used to apply the characteristic A-1 Skyraider exhaust staining along the fuselage. The thinned black paint is applied a little at a time to build up to the desired look and darkness. To finish, some thinned down Flat Gull Gray was airbrushed near the exhaust exits to shade the center and simulate heat staining.
Final Clear Coat
To finish the model after all of the weathering work has been completed, I sprayed the model with a final matte clear coat to protect the finish. Again, I used Rustoleum 2x matte clear to complete the job. I absolutely love the results, the model has been completely transformed! While the Skyraider looked good in stock colors, it’s hard to beat having an FS accurate paint job since it adds so much to the aircraft’s realism. Until next time, I’ll see you at the field!
Scale Colors
Tamiya makes an incredible line of aircraft spray paints that are quite accurate to the Federal Standard colors. For the Skyraider makeover, I used the following Tamiya Aircraft Spray colors:
- AS-16 Light Grey (Camouflage Gray FS 36622, Underside color)
- AS-15 Tan (Dark Tan FS 30219)
- AS-14 Olive Green (Medium Green FS 34102)
- AS-6 Olive Drab (Dark Green FS34079)

Text & Photos by Chris Wolfe


